
Ever wondered how to paint walls like a pro? Well, you’re in luck! This blog post will share with you the secret of how to paint like a pro. We’ll discuss what kinds and types of paint are available for purchase, as well as how to use them properly so that your painting doesn’t end up looking more amateur than anything else.
It’s not difficult at all, but it does require some elbow grease and patience on your part. Read on and learn about the secrets behind painting wall surfaces.
Here’s A List Of What You’ll Need:
- Use a paintbrush and roller for large surfaces.
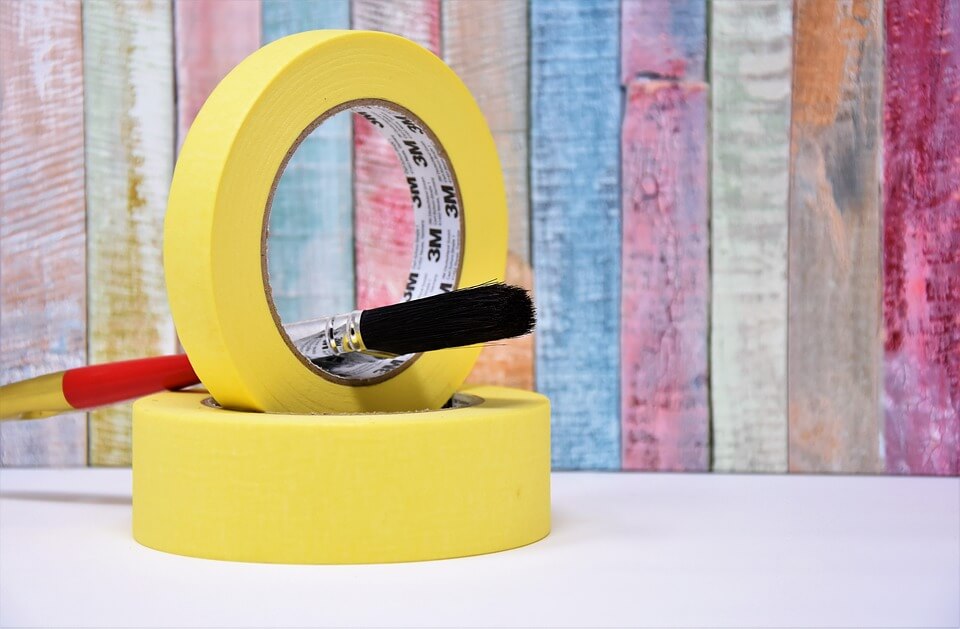
- Painter tape (optional)
- Drop cloths or plastic sheeting for covering floors and furniture. The paint will not stick well on these surfaces, so it’s best before the painting starts.
- Paint roller and paint tray: If you are painting the edges of a wall, it’s best to use a paintbrush instead because rollers will leave bristles all over the walls (and onto your freshly painted stripes).
- Clean-up supplies: Paper towels or rags for cleaning brushes and hands before beginning
- Paint thinner for cleaning up spills.
- Paint: It’s best to buy high-quality, premium paint that is meant for painting walls because it will last longer and require fewer coats than cheaper paints. The type of paint you use also depends on the wall surface. There are two main types of paint that can be used when painting walls; latex paint and oil-based paint. Latex should never be mixed with oils because they will not form an even finish which can lead to peeling or flaking over time.
- Wall surface: Painted surfaces should be dry, clean, and free of dust. If the walls are not smooth, use a light sanding material for rough patches before painting.
Tips Before Painting
Do’s
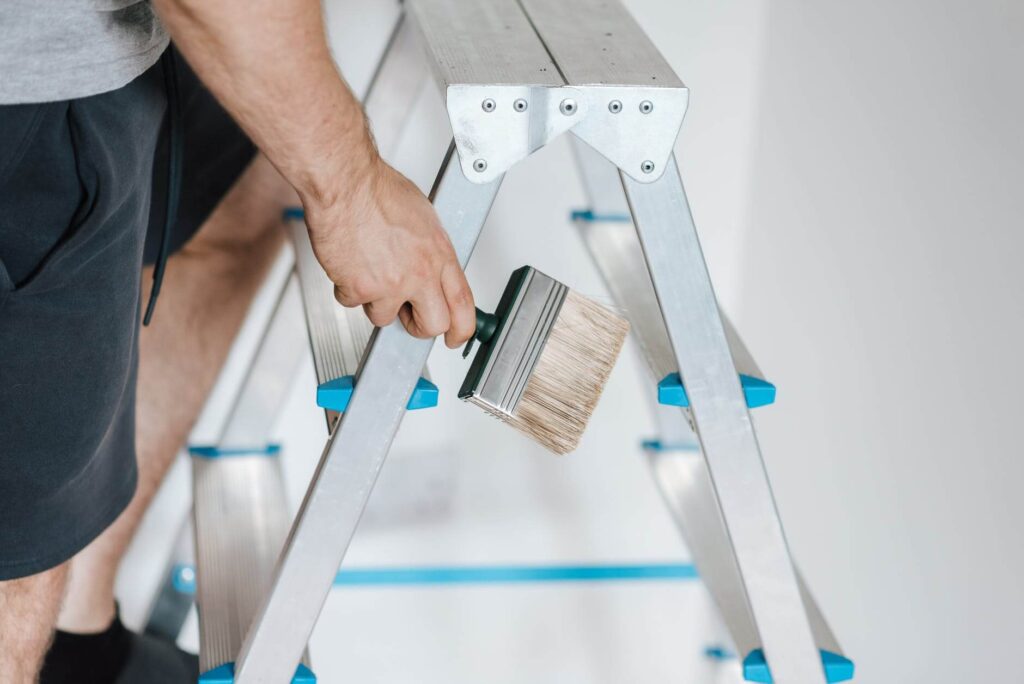
You’ll want to make sure that all of your supplies are within arm’s reach. It is important to first make sure that you’ve sealed the surface of your walls and then allowed it a full day or two to dry. In order for paint to adhere properly, it needs time to do so.
It is best not to mix different types of paint when applying it onto walls because this makes it easier for them to peel off over time. The paint will also start to peel off if you don’t use a primer.
Dont’s
Don’t forget about safety goggles, work gloves, an extension cord if necessary, as well as a drop cloth (if painting outside). You can also use newspaper to cover furniture and flooring so they don’t end up covered with splatters of leftover paint.
The key is to work small areas at length so that you don’t get any runs or drips in your finished product.
You might be interested: Walnut Wood Grain Filler: A Great Choice for Your Home Improvement Projects
Where Do You Start?
If painting only one wall in your room, start with the longest wall and work your way to the shortest.
If painting two walls, start with the shorter of the two first before moving on to longer ones. If you paint a wall that is too long in one go without letting it dry fully between coats, chances are good that some areas will end up peeling off as time passes by.
The key is to work small areas at length so that you don’t get any runs or drips in your finished product.
Steps On How To Apply The Paint
- Before painting, always prepare the surface by cleaning and repairing any damage to the paint or wallboard.
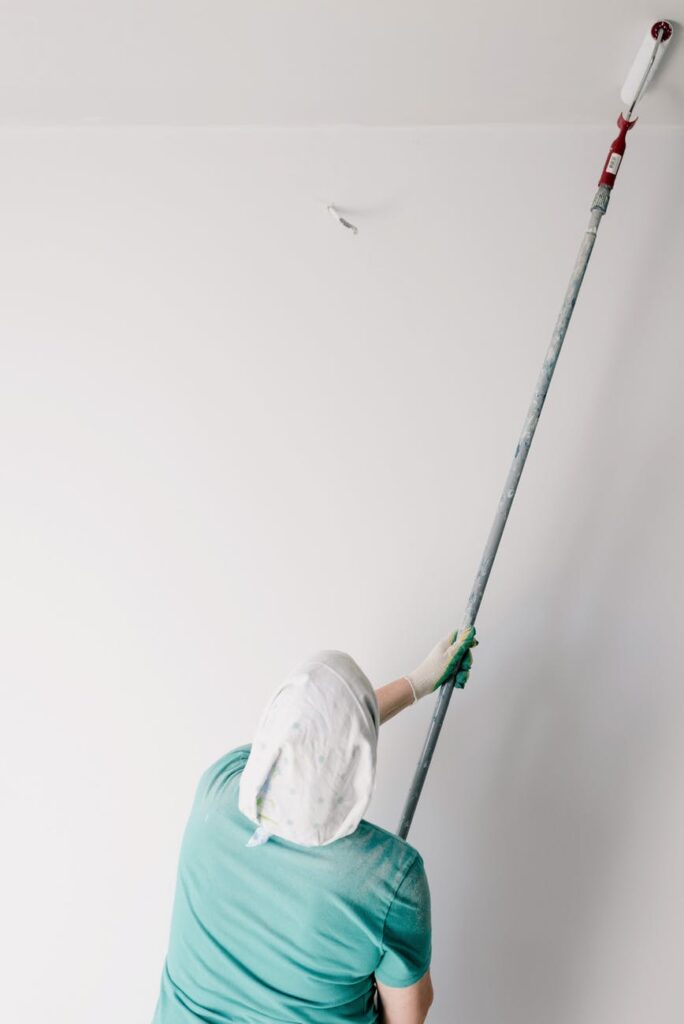
2. First, use a roller with an extension handle if necessary and roll on your first coat of color in a thin layer. If you are using more than one type of paint on each wall, this would be the time for the next coat. Remember that light colors should go over dark ones so they don’t end up looking dirty or old-looking.
3. When working with any kind of trim (baseboards and molding), it’s important not to forget these areas when applying paints because they will have an effect on what your finished product looks like at the edges. Take time to roll along with them at different angles for the best coverage.
4. After rolling onto your baseboard, always remember to wipe off all excess paint from both sides of the roller and your brush to avoid any drips on your freshly painted walls.
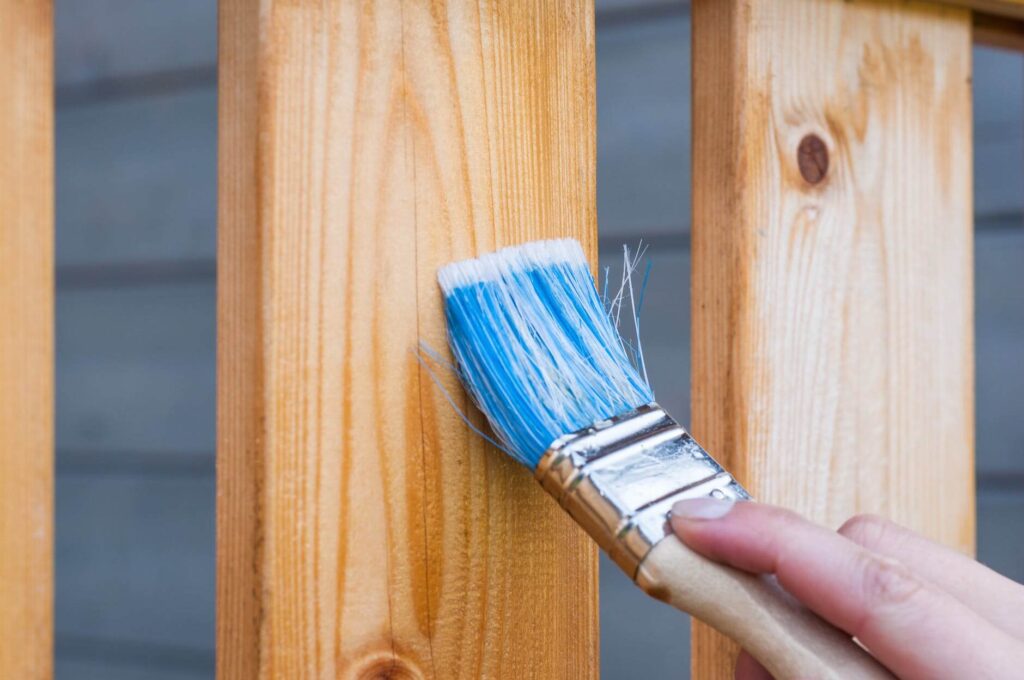
5. If you plan to paint over a textured wall, look for acrylic paint that will adhere well to it. It is also important when painting these types of surfaces not to overload them with too many coats because they are more likely to be absorbent. Use an angled brush for edges like trim work; if you don’t have a proper tool handy, use a credit card as an alternative.
6. If you’re painting ceilings, it’s best to have two people working on the project at once. One person should be holding a taping knife and trimming the excess paint from around light fixtures and other obstacles while the other is rolling.
7. When you are done with your painting task, always clean up any leftover materials because this will ensure that they don’t get dirty or messy
How Do I Clean Up?
Once you’re finished painting, seal your paint cans for later and dispose of any leftover paint in an environmentally friendly manner by taking it to your local recycling center. If possible, remove excess from your paintbrush by wiping it on a paper towel.
Then, clean your painting tools with soap and water to remove any leftover paint
Soak the bristles of your brush in soapy water before placing them back into their original container if you are storing them wet for later use
Otherwise, wash out the brushes as soon as possible when finished using them. Also make sure that after cleaning up, all materials like rollers or sponges are placed inside plastic bags to avoid dried-on stains from setting on objects around the house
Always Remember
To paint walls like a pro, be sure to clean up as you go and dispose of any leftover paint in an environmentally friendly manner.
Remember that painting is not something that should happen quickly or without consideration for safety, but if done properly with the right tools it can give your home a fresh new look.
Painting walls is no easy task-it requires hard work and careful preparation if you want the finished product to look flawless. There are many simple tips involved in successful painting projects that can have profound effects on how well your final project turns out. That’s why we’ve compiled this list of tips to make painting easier and faster so you don’t have anything stand between you and those beautiful freshly painted walls.
So, enjoy painting!


