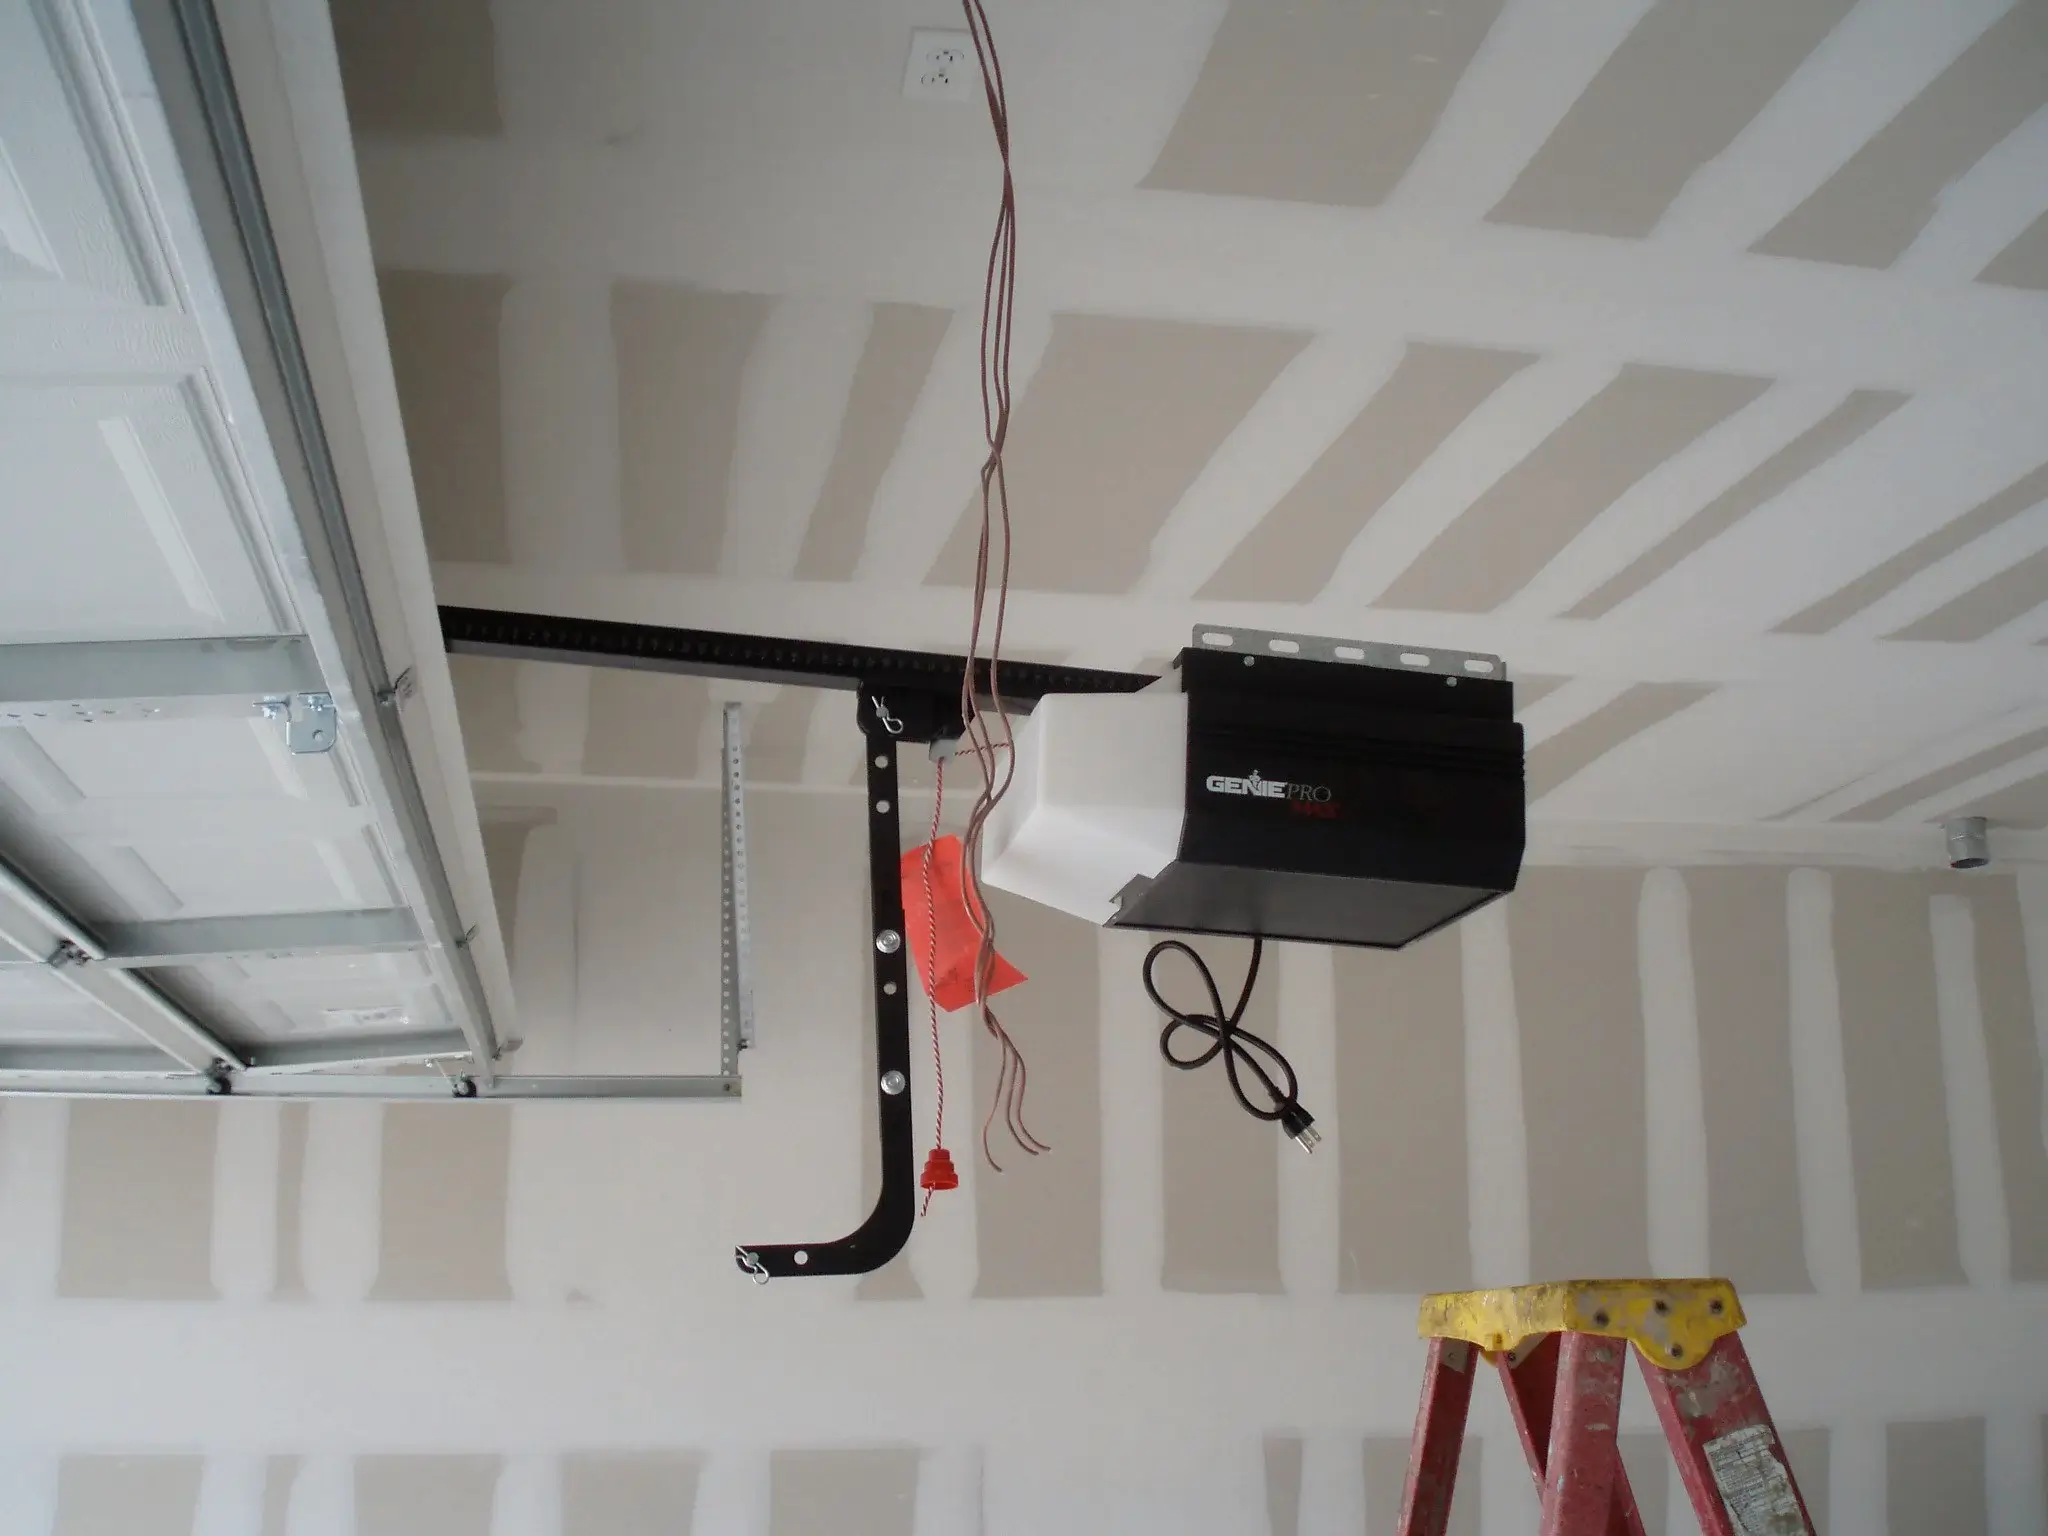
A garage door opener can be a lifesaver on rainy or snowy days when you don’t want to step out of your vehicle to open the door manually.
However, it’s only useful if you’ve programmed the remote properly. Imagine pressing the button, and nothing happens because you have yet to learn how to program a Genie garage door opener. That would be a bummer.
Genie offers easy-to-follow instructions, but it’s important to ensure you use the correct instructions for your specific type of garage door opener.
Thankfully, programming your remote isn’t too complicated.
Once you’ve learned how to program a Genie garage door opener, you’ll have no trouble doing it again if you need to add a remote or replace one.
How to Program Your HomeLink System to Your Genie Opener
Programming your HomeLink system to work with your Genie garage door opener is a straightforward process.
This guide will walk you through the steps to ensure a smooth setup.
It’s important to first identify the model of your Genie opener and confirm the serial number before beginning.
Identifying Your Genie Opener Model
Your Genie opener could be one of the following models:
- ReliaG 850
- ReliaG 650
- TriloG Series
- IntelliG
- PowerMax
- SilentMax
- ChainMax
- PowerLift
- DuraDrive
- Excelerator 2
Look for these specific model numbers:
- 1028
- 2028
- 2568
- 3024
- 3064
- 4024
- 4064
For any models not mentioned above, please refer to the Genie website for specific instructions.
Locating the Serial Number
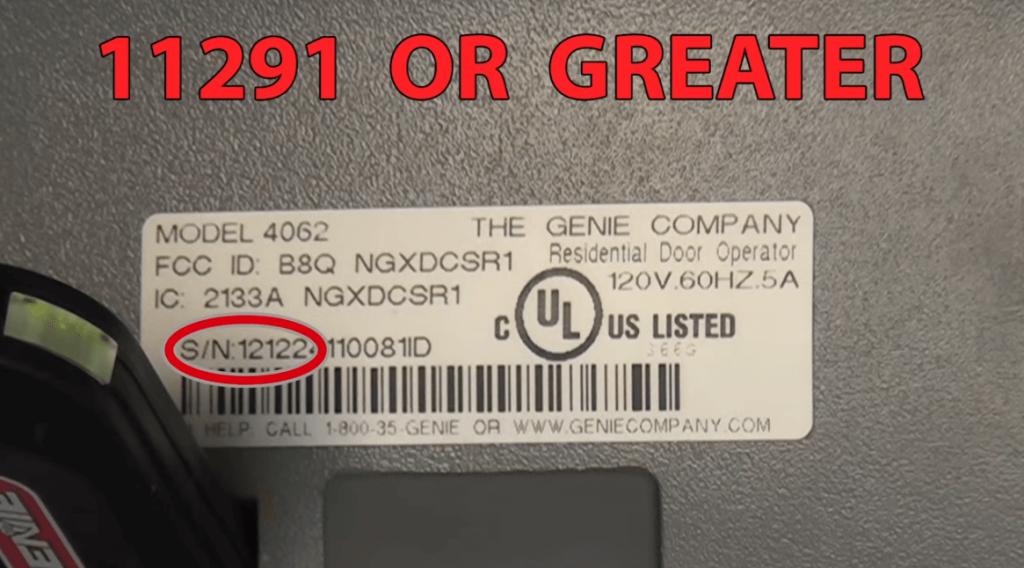
The serial number (SN) is important for programming. Depending on your specific model, you can find it on either the back or front of the opener.
The first five digits of the serial number should be 11291 or greater.
If the number is smaller, consult the instructions on the Genie website for guidance.
Clearing Your HomeLink
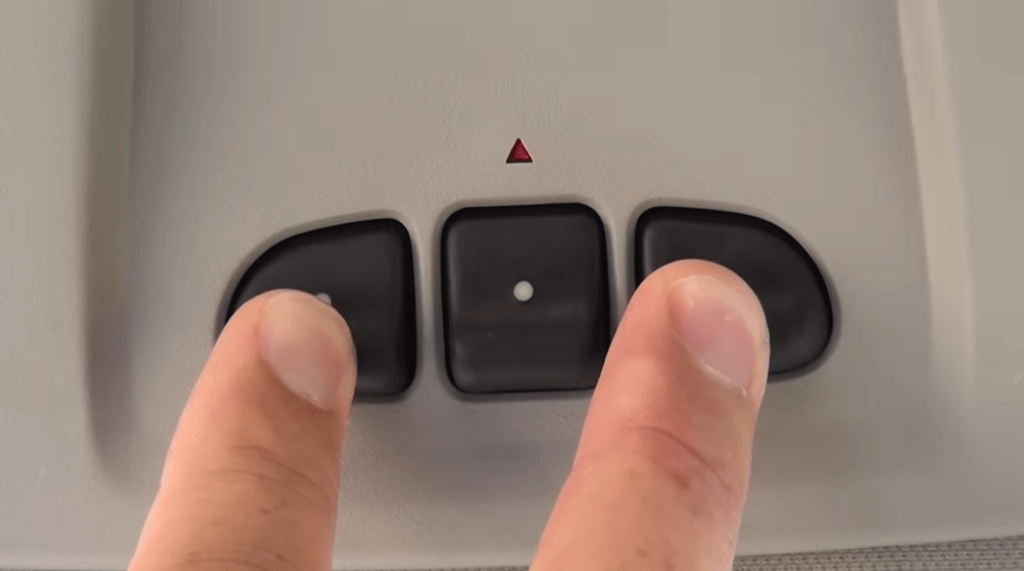
Before programming, clear any settings on your HomeLink by pressing and holding the first and third buttons for about 20 seconds.
The indicator on the HomeLink should blink slowly and then quickly. Release both buttons once this happens.
If your HomeLink already has a program set, only clear it if you can reprogram it later.
Training HomeLink with Genie Intellicode Remote
For each new opener, powerhead, and HomeLink button combination, train your HomeLink to your Genie Intellicode Remote.
This may vary depending on the car manufacturer and model, so consult your car owner’s manual for specific requirements.
Preparing Your Genie Intellicode Remote
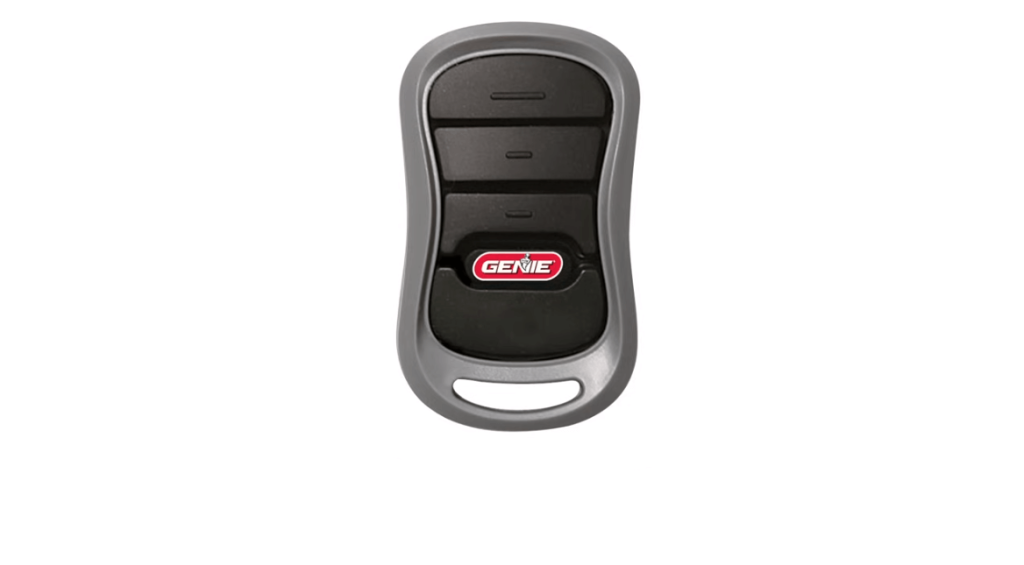
- Choose a button on your remote that is not programmed to your opener to avoid any door movement during the setup.
- If the LED light on the button is red, it’s set to program. If not, hold the button until both red and green LED lights show, then release and quickly press the button twice.
- Once the light turns red, your remote will be programmed to your HomeLink.
Programming HomeLink
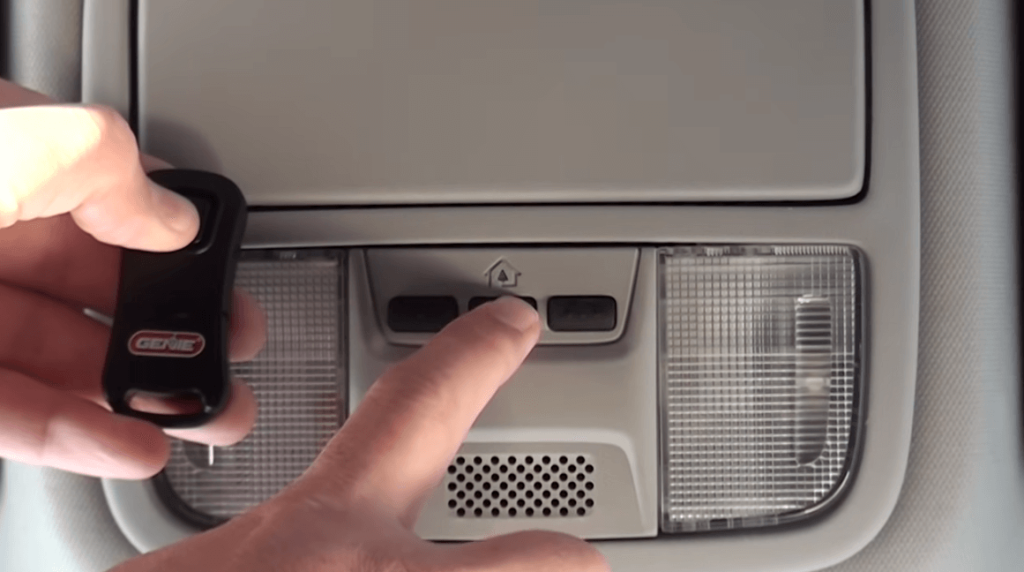
- Choose the HomeLink button you wish to use for opening your garage door.
- Hold the programmed button on your Genie remote near the HomeLink and press the desired HomeLink button until the indicator light blinks slowly and then quickly. Release both buttons once this happens.
- If using a one-button Genie remote, press and hold it before pressing the HomeLink button. Follow the same steps for the indicator lights.
Finalizing Setup on the Opener
- Press and hold the square program button on the opener until the round blue LED comes on, then release.
- Press the programmed HomeLink button for one second, twice. The LEDs on the opener should turn blue and then turn off.
- Pressing the HomeLink button again should move the garage door, confirming the programming is successful.
Troubleshooting and Additional Assistance
If you encounter issues or can’t find the program button on your opener, refer to the operation manual or the Genie website for further assistance.
Following these steps, your HomeLink system should be successfully programmed to your Genie garage door opener. Remember, safety comes first.
Ensure all steps are followed carefully to avoid any mishaps. The Genie customer support team is always ready to help with any additional support or questions.
Wireless Keypad Programming
When programming a Genie garage door opener, it’s important to know how to reprogram your wireless keypad.
Here are some general instructions that may come in handy. Remember to consult your owner’s manual for specific instructions for your unit.
- Before you start, make sure the backlight is off.
- Press and hold the PRGM button until the LED turns blue to put the unit into programming mode.
- Release it and wait for the LED to start flashing purple.
- Enter the default PIN, which is 357.
- Slowly press the up/down button until the garage door opens.
It would be best if you also changed the default PIN when programming your keypad. To do this:
- Enter the default PIN and then press the program button.
- Enter your new PIN, which can be three to eight digits.
- Finish by pressing the program button again.
Programming a Genie Keypad
Here are the steps you need to program a Genie keypad to a Genie opener for a single garage door.
However, if you want to connect the keypad to multiple garage doors, you will need to refer to the keypad’s owner manual for instructions.
To program your Genie keypad, you will need to follow these three important steps:
Step 1: Connect the keypad to the Genie opener
To begin, you will need to enter the numbers 3-5-7 in the order provided, then press the large up/down button.
Afterward, press the PRGM/SET button until the small, round LED light starts flashing red.
Step 2: Set your pin
Next, enter the numbers 3-5-7 in order, then press the PRGM/SET button. You will need to enter a pin that consists of three to eight numbers in length.
After entering your desired pin, press the PRGM/SET button.
Step 3: Pair the keypad and opener
Now, press and hold the PRGM/SET button. The round LED light will turn blue, and then turn off. Afterward, the long LED light will begin flashing purple.
Enter your pin, then press the up/down button. The long LED light will turn purple. Press the up/down button again, and the purple LED light will turn off.
Finally, press the up/down button for a third time to open the garage door.
Your keypad is now ready to use. The garage door will open whenever you enter the code and press the up/down button.
Remember that if you need to stop or reverse the door’s motion, you can press any button while the door is still in motion.
Programming a Genie Wall Console
Programming a Genie Wall Console might seem challenging for first-time users, but with just two simple steps, you can get it up and running in no time.
Step 1: Initiate Programming Mode
To begin programming your Genie wall console, press and hold the PRGM/SET button. As you do this, you’ll notice that the round LED light on the console will turn blue and then turn off completely.
The long LED light will start flashing purple at this point, indicating that you’re now in programming mode.
Step 2: Syncing with Your Garage Door Opener
With programming mode initiated, it’s time to synchronize your wall console with your garage door opener.
To do this, press the door button on your wall console once every two seconds until your garage door opener starts to operate.
It may take a few tries to get this right, but keep at it, and soon enough, your wall console will be fully synced up and ready to go.
So there you have it, a quick and easy guide to programming your Genie wall console. By following these two simple steps, you’ll be able to get your console set up and ready to use.
Troubleshooting Your Garage Door Problems
When you are trying to figure out how to program a Genie garage door opener and want to add a new remote, you should first do some troubleshooting.
Sometimes, the problem may be with something other than the remote, and there is no need to buy and program a new one.
Here are some common problems that may seem like a remote issue but are due to something else.
Before troubleshooting, make sure you can manually open and close the garage door. If you manually open the door, you can move on to looking at what may be wrong.
If you cannot do this, a more serious issue might require professional service.
Remote Issues
Before you start troubleshooting why your garage door opener remote isn’t working, the easiest thing to check is the remote itself. If you have other remotes that work, try replacing the batteries in your remote.
If that doesn’t fix the problem, then you can follow the steps to program a Genie garage door opener to reset your remote.
However, if the remote still isn’t working, there may be other issues to consider.
The next step is ensuring you are within the garage door opener range. Move closer to the door and see if your remote works.
If you have to be much closer than you used to, it could be a battery issue, or the remote may be worn out and need replacing.
Before you go ahead and buy a new remote and start the steps for how to program a Genie garage door opener, you can continue troubleshooting to ensure the problem isn’t with the garage door itself.
Door Issues
When operating your garage door remote, it’s important to be aware of potential issues affecting its functionality.
According to Custom Door & Gate, if your garage door opens fine but won’t close, the photo eyes – which are responsible for preventing the door from closing on people or objects may be dirty or misaligned.
Checking these eyes is relatively simple: ensure they’re clean by giving them a light wipe, then check their alignment using a level and measuring from the ground.
It’s important to ensure that both eyes line up and face each other.
Another potential issue to consider is damage or bending of the antenna.
If there’s something wrong with the antenna, it may not be able to properly receive signals from your remote, meaning that it may not work or may only work intermittently.
You can inspect the antenna visually. It should hang down from the opener’s head. If it’s not in the right position, adjust it and try your remote again.
If there are any obstructions in the way of the antenna, such as clutter or other objects, you may need to rearrange things in your garage to ensure proper signal reception.
If neither the photo eyes nor the antenna seems to be the problem, replacing the remote and following the steps for programming a Genie garage door opener may be your best bet.
If your new remote isn’t working, it may be time to call a professional.
They can look closer at your garage door system to identify any underlying issues with its components.
You might be interested: Craftsman Garage Door Opener Troubleshooting: Your Complete Guide
Frequently Asked Questions
How do I know when my remote control’s battery is low?
Most Genie Remote Controls have an indicator light that will blink when its battery is low. However, if it does not have this feature, then you will need to check it manually with a voltmeter or multi-tester device.
What should I do if my remote won’t work even after programming it?
If programming your remote was successful but still won’t open or close the door, make sure that no other devices are operating on 315 MHz frequency nearby that could interfere with performance.
For example, wireless range extenders or cordless phones intervene with signal transmission between the receiver board and control panel circuitry inside of your opener unit.
If the issue persists, contact customer service for further guidance and technical support assistance.
How many remotes can be programmed into a Genie Garage Door Opener?
Depending on the model of your Genie Garage Door Opener, it can accommodate up to 7 remotes at one time.
Can I use a universal remote with my Genie garage door opener?
No, only original manufacturer-made remotes for certain models of Genie garage door openers are compatible with their unique code systems.
So universal ones cannot typically be used as substitutions even if they operate on the same frequency access point (315MHZ).
It’s also important to note that older (pre-2011) design versions may not be able to accept new remotes altogether, which means you’d need an updated model entirely before adding any extra accessories like replacement keypads/controls onto them.
What type of battery does a Genie Garage Door Opener require?
The Genie Garage Door Opener requires a CR2032 or CR2025 3-volt lithium battery, depending on the specific model.
When replacing the battery, ensure it faces the right way with the + side up.
Wrapping Things Up
Learning how to program a Genie garage door opener is an essential skill to have. If your remote is not programmed correctly, it can become useless, rendering your garage door inoperable.
However, once you have correctly programmed your remote, it can be a valuable tool that can save you from many headaches and make your life easier.
Although it is an essential skill, once you have programmed your remote, you may only have to think about it again once you need to program a new one.
Therefore, bookmark this article so you can return to it anytime you need to refresh your memory on how to program a Genie garage door opener.


