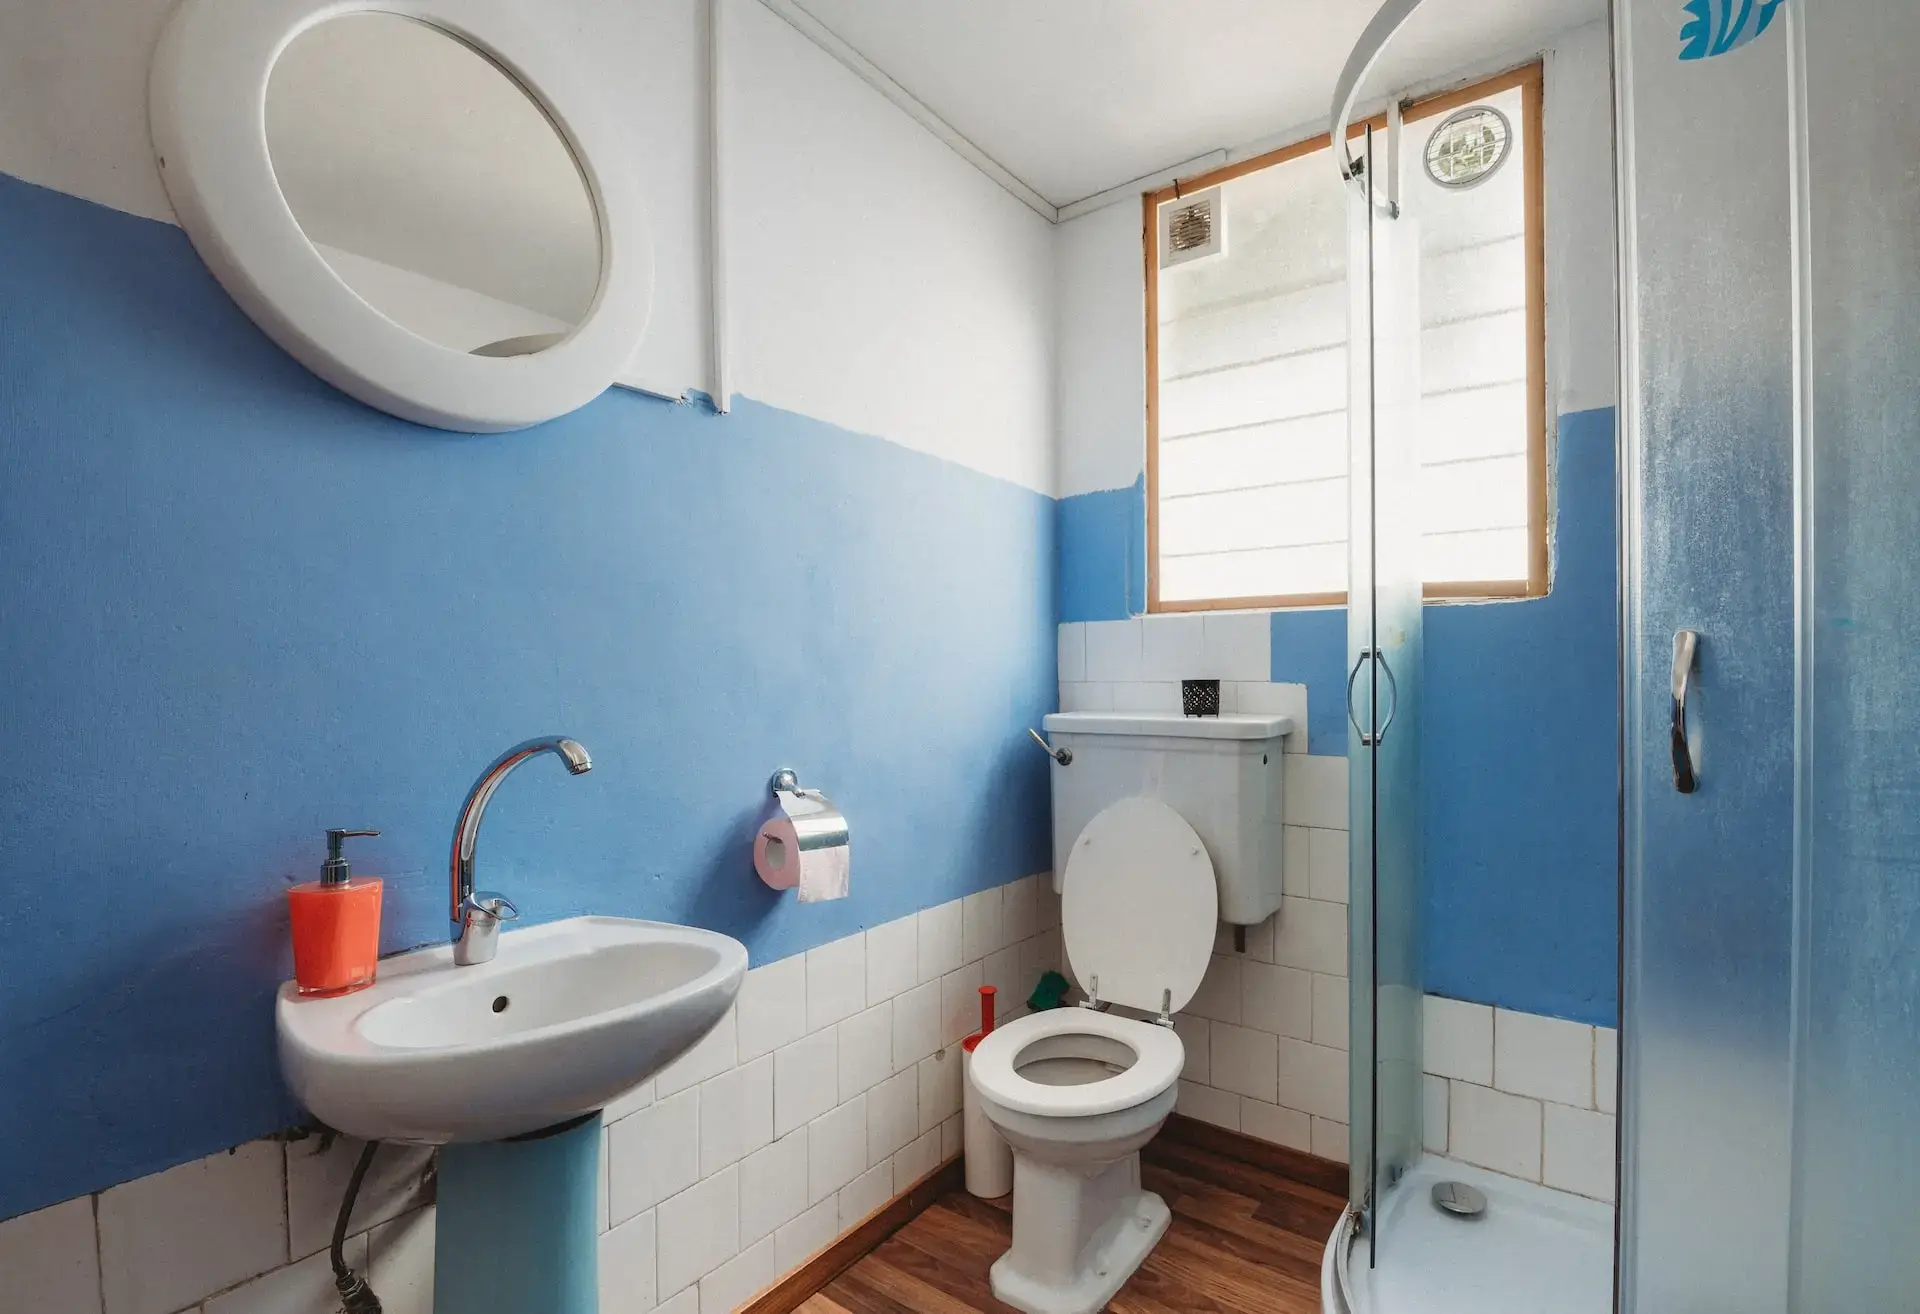
Getting the height of your toilet flange right is essential for ensuring that your toilet works properly with no leaks.
A good flange height also opens up various material options, making installation and maintenance easier.
You don’t have to worry about odors or rotting from water damage. Plastic flanges come pre-drilled with several holes ready for securing bolts and are easy to find at hardware stores.
What is a toilet flange?
A toilet flange is a crucial part of the installation process for any new toilet. It’s a round disc made of PVC plastic that helps create a secure seal between the toilet and the pipe, ensuring proper installation and preventing water or odors from leaking.
The flange is mounted to the floor and connects directly to the drainpipe, providing an attachment point that prevents it from wobbling or shifting during use.
Investing in a good quality toilet flange upfront and ensuring it is properly installed can save you from potential problems down the line.
When should you check the toilet flange height?
Before installing a new toilet, you should always check the height of your toilet flange, which helps ensure that everything is properly installed and maintained.
It’s also important to recheck the flange measurements after performing any flooring or remodeling projects that could have impacted existing measurements, such as pouring a new concrete foundation for the bathroom or adding an extra layer of ceramic tile beneath the toilet.
What are the most common signs of an improperly set toilet flange height?
To ensure your toilet is correctly installed, ensure all measurements are level so that nothing puts an undue strain on the flange.
Common signs that your toilet flange may be improperly set include loose bolts, rocking or wobbling when someone sits on it, water leaking into the bathroom floor due to improper seal at the toilet base, and uneven bowl levels, which can result in an uncomfortable sitting position.
Additionally, it is important to check for any signs of wear and tear around the flange, as this can indicate a lack of proper support from underneath.
What steps should be taken to ensure an optimal flush on the flange?
Flanges are essential to your toilet system, as they help create a barrier that keeps nasty smells and leaks at bay. If you don’t have a flange, you risk encountering unpleasant and unhygienic situations.
And, if left unchecked, these problems could even cause rotting in your floor. Before installing a flange, you should consider a few things. First and foremost, you need to think about the height of your flooring.
This is because the height of the flange will impact the surrounding flooring you add afterward. You’ll want to aim for an optimal flush on the flange to prevent further issues from cropping up.
Fortunately, installing a flange is a relatively simple process that doesn’t require a lot of extra materials. However, it’s important to take precautions before putting your flange to use.
By doing so, you’ll be able to ensure that everything is working properly and that you don’t have to deal with any unpleasant surprises in the future.
You might be interested: Stop Sewer Backups in Their Tracks: Understanding Backflow Preventers
Installing a Toilet Flange
To connect a brand new toilet flange, at least temporarily, you’ll first need to say goodbye to your toilet. This means removing it to expose the flange that’s lurking underneath.
Here’s the catch, you’ll find several bolts holding the toilet in place, nestled against the wax seal and flange.
You’ll want to loosen those bolts first and foremost, but don’t go throwing the hardware out just yet. You might need it later if you’re planning to reuse it.
1. Out with The Old
Installing a new toilet isn’t just about the toilet itself – the flange underneath it is just as important. The flange connects the toilet to the sewer line, and if not installed properly, you could end up with unpleasant smells and leaks.
To change the flange height, you must first remove the bolts that secure the toilet to the flange. Make sure to handle them carefully since they can be delicate.
The style of flange you choose will depend on your needs, but for a proper seal and fit, aim for a height of ¼ inch above your floor.
When choosing a material for your flange, PVC is usually best, though some older models are made of metal. Metal flanges tend to be more expensive than their PVC counterparts.
2. Purchase A New One
If the existing flange is too low, you can buy a new one that sits on the finished floor and provides the ideal toilet flange height. You may need to purchase a model with an additional metal or plastic ring underneath the toilet once it’s reinstalled.
On the other hand, if your flange is too high, it may cause plumbing issues and prevent your toilet from fitting correctly onto the floor. You’ll need to trim down the PVC pipe beneath it to fix this.
Be careful with this step as it can be difficult to correct if you remove too much – instead, take off only a modest amount and double-check that the flange will rest adequately and create a good seal.
3. The New Flange
When ready to install the new flange, the process is the reverse of how you uninstalled the old one. Position it where it should go and ensure the toilet flange height will not exceed ¼ inch above the finished floor.
Make any necessary adjustments and pick the best new flange for your needs. If the existing flange has the correct height, you can opt for a traditional one.
But there are also special models available to address toilets with low-sitting flanges. Once you have the appropriate flange, install it with closet bolts. These are used to secure it to the plumbing line underneath.
4. Bolts Snugly Secure
Secure the closet bolts snugly so the toilet stays in place, and the plumbing does not shift. A nut and washer are ideal, but good-quality bolts will also suffice. Washers can make later removal of the hardware much easier.
Now you can install the toilet washers and nuts and ensure both are securely tightened. Once your flange is firmly in place, it’s time to add the wax seal.
For maximum longevity, opt for a wax seal with a center ring made from poly – these provide an incredibly strong, long-lasting seal. Wax rings like these are inexpensive and can often be purchased alongside flanges.
5. Put A Wax Seal
Place the wax seal around the flange’s center opening, ensuring it doesn’t cover any part of it. Then carefully place the toilet on top, careful not to bend or break any bolts as you make finer adjustments and position the toilet correctly.
While thicker versions of wax seals can be used when your flange is not at its intended height, they are not usually required if your flange has a correct height. Avoid using multiple wax rings to make up for higher-than-normal flanges – this could lead to leaks and other issues.
6. Seating the Toilet
Once the toilet is placed on the flange and wax ring, it’s time to check for levelness. Gently rock the toilet from side to side and from front to back. If installed properly, your toilet should be firm and sit flush on the floor without rocking.
If you notice any rocking when you test it out, add shims until it’s leveled out perfectly. There’s no hard-and-fast rule about how many shims you’ll need – simply add them until all the rockings are eliminated.
7. Bolt Down The Toilet
Once the toilet is level and the bolts are tightened, it’s time to securely seal it to the floor. Carefully press the toilet against the wax seal, ensuring no air or water leaks.
When tightening the bolts, ensure not to over-tighten them, as this can cause cracking. After bolting down and sealing the toilet in its final position, you’ll need to caulk around its base.
Caulking keeps shims in place and out of sight while preventing any future movement and making cleaning more efficient by protecting against dust, dirt, and other particles that could otherwise be hard to reach.
Other Helpful Tips For Toilet Flange Height
Installing a new toilet flange can initially seem intimidating, but it doesn’t have to be. Here are some tips to keep in mind when starting this process:
- Ensure to follow the instructions in the order given – skipping steps can lead to costly mistakes later.
- Measure accurately and double-check any measurements before making cuts, drilling, or other modifications.
- Don’t skimp on the finished work. Taking care of even seemingly small details, such as caulking, will make all the difference in ensuring a proper fit and preventing future problems.
Patience
Working on plumbing-related tasks requires patience and attention to detail. For example, if you encounter an older flange that’s difficult to remove, try gently tapping it with a rubber mallet rather than jumping straight to the crowbar.
This is less likely to cause damage to your floor or plumbing system below. Taking the time and being patient with each step will serve you well in the long run.
Skipping vital steps and rushing through can result in problems down the line, so make sure to complete each process before moving on. Doing so will ensure that your toilet is secure and free of leaks or escaping odors.
Measure Carefully
Measuring carefully is important to ensure you get the right parts for the job. While it’s okay if your flange sits a little high or low, you’ll need to know how much it is off before shopping for replacement parts.
Different flanges and wax seals may be required depending on the height difference. Using a thicker wax seal isn’t necessarily always ideal. Often, a standard seal will provide a better fit when accompanied by a flange of the correct height.
Attention to Detail and Finish Work
If you want to avoid having to uninstall and reinstall your toilet due to leaks or odors, ensuring it is well-leveled and sealed should be a priority during installation.
Careful shimming, caulking, and using the right parts can significantly improve the longevity of your toilet – saving you from unexpected repairs in the future.
Plumbing projects aren’t a joy ride, so spending some extra time on the finished work pays off.
Taking the necessary steps now means that your toilet won’t require frequent maintenance in the future.
Conclusion
A properly installed toilet flange is essential to your toilet’s long-term success and performance.
Taking the necessary steps to measure and set the correct height before purchasing replacement parts or attempting repairs can go a long way in saving time and money and avoiding unwanted issues down the line.
By investing a little time upfront, you can ensure your toilet will remain in proper working order for years.


