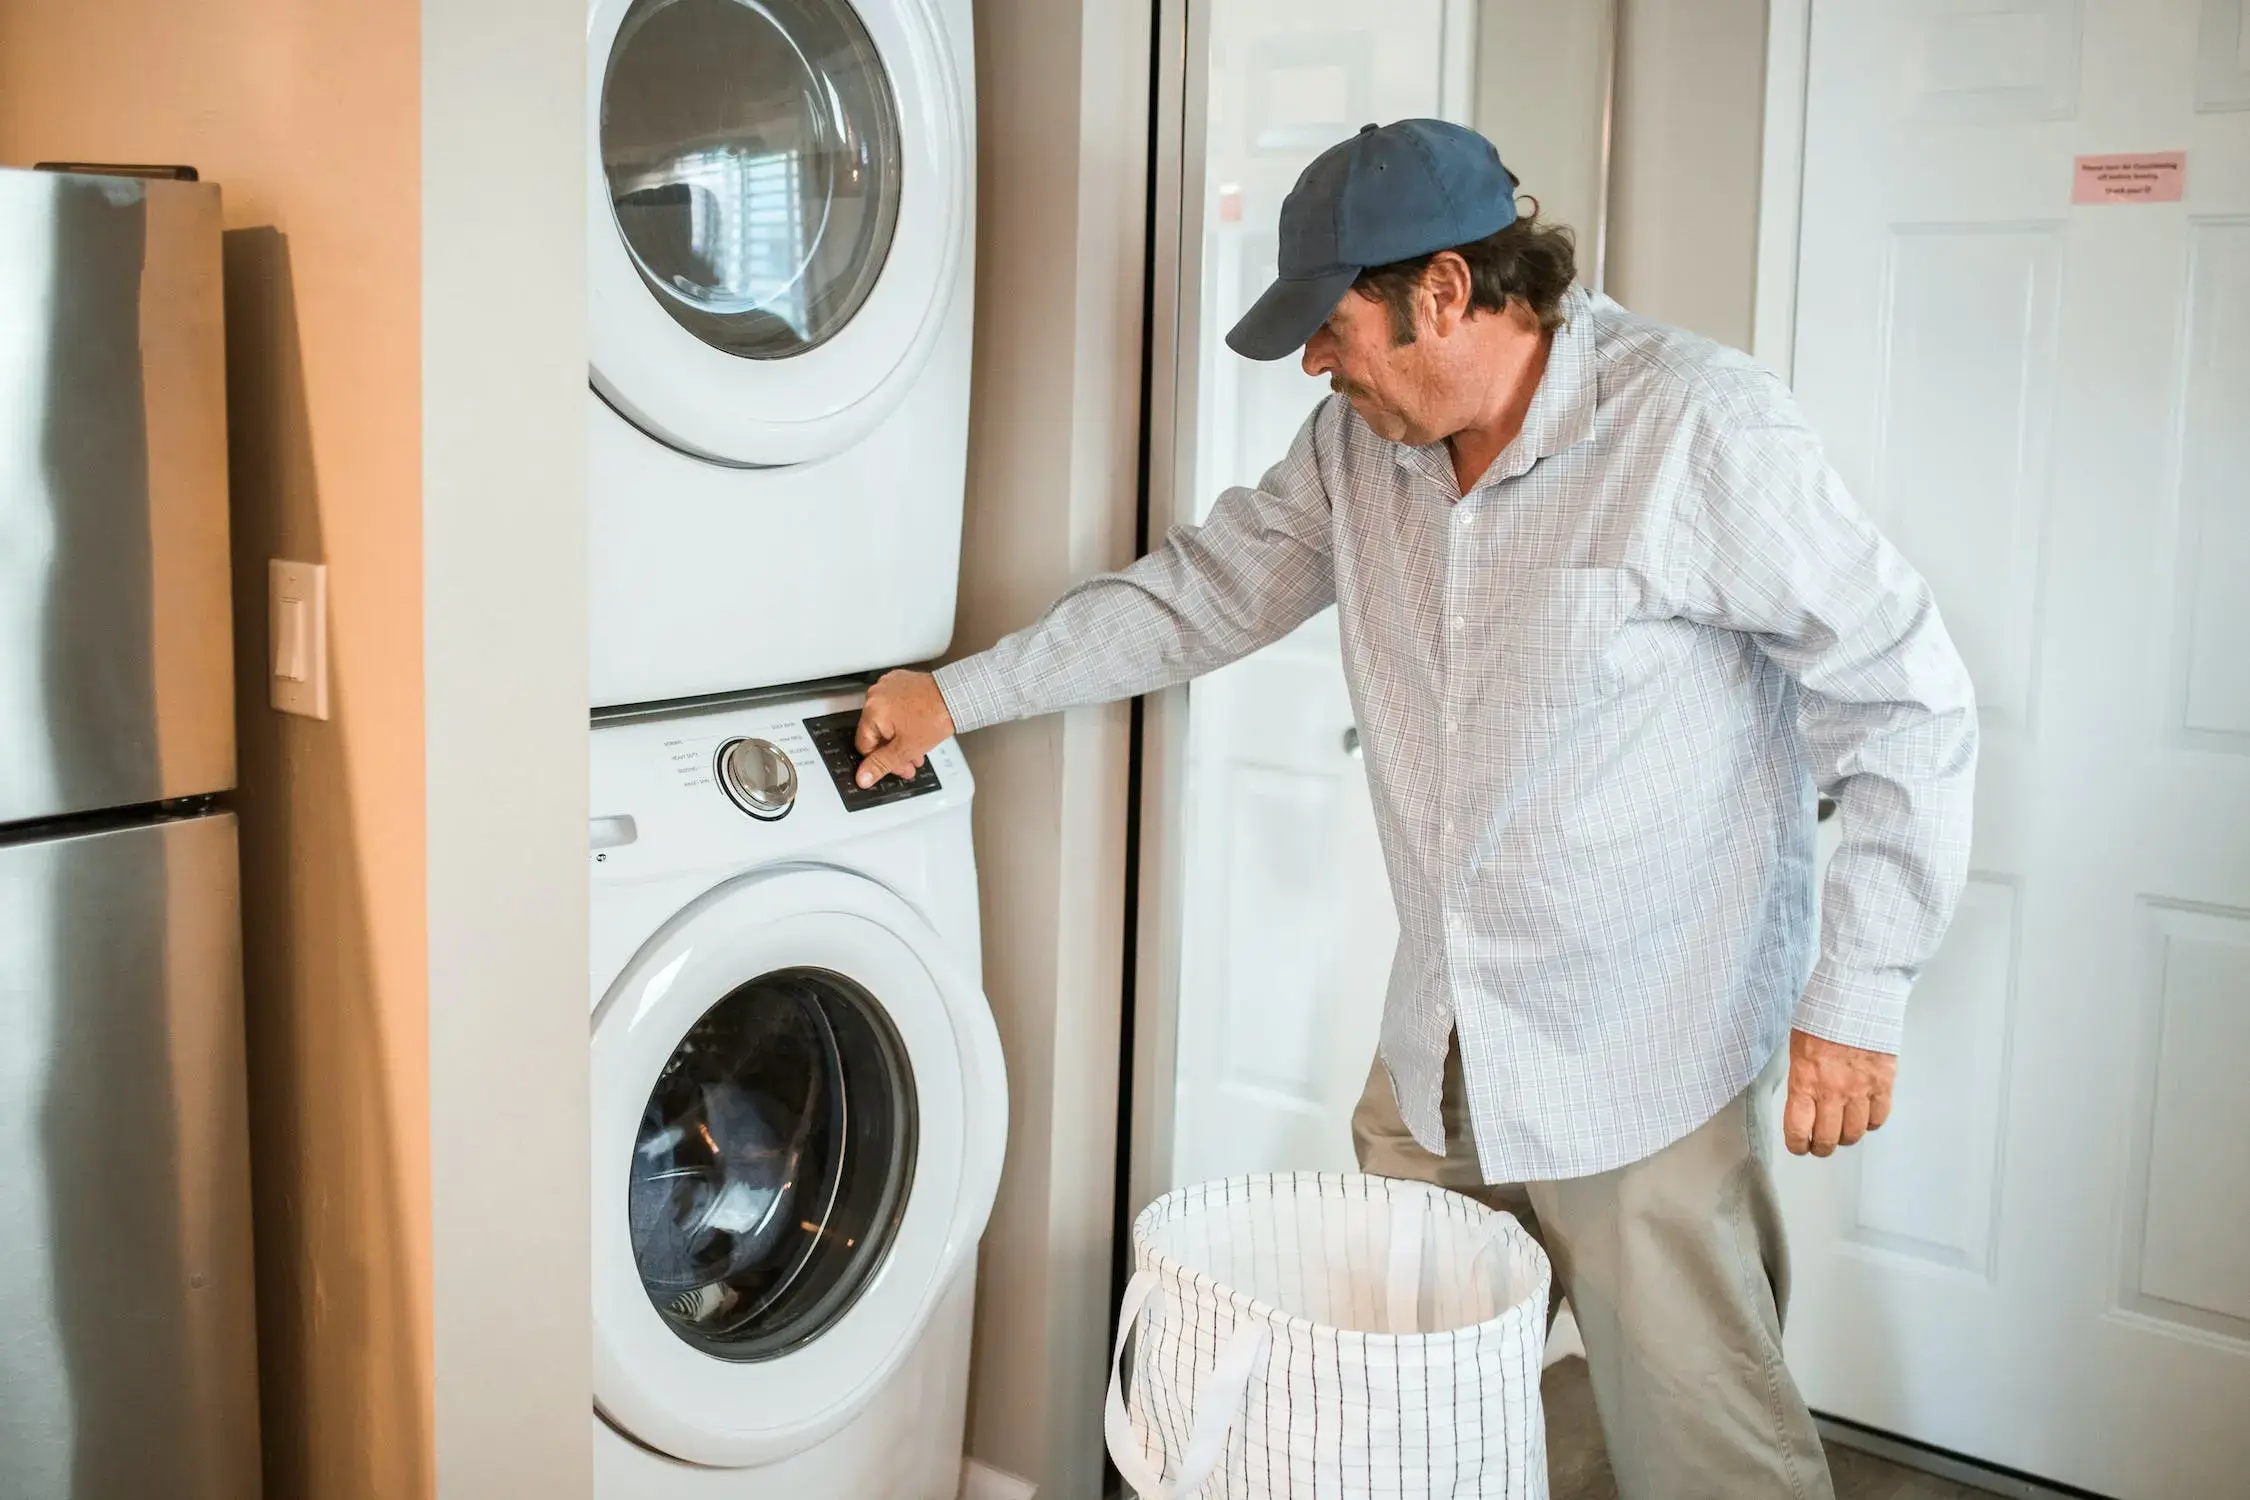
Installing a washing machine in your home or building can make life much easier. However, it is important to ensure that the plumbing and installation of the washing machine are correctly done. Otherwise, you may experience difficulties with the washer.
Do I need a plumber to install a washing machine?
While hiring a plumber is unnecessary, it’s recommended if you’re unfamiliar with plumbing. A professional can ensure the installation is done correctly to prevent leaks or other issues.
Fortunately, plumbing and washing machine installation is not complicated and can most likely be completed in 8 simple steps. The following explains how to correctly plumb in and install a washing machine.
Step 1: Turn off the Main Water Supply
Before starting any plumbing job, it’s important to make sure you shut off the main water supply valve. This valve is usually found in the laundry room or basement. It helps to ensure that your work area stays dry throughout the project.
Step 2: Build a Wall
If the laundry room or basement doesn’t provide a wood structure for secure attachment of the water lines, you should build one. You can easily construct a box with a plate at the bottom and two studs on either side, then secure it with some screws.
Step 3: Mount the Hot and Cold Water Pipes
First, tie in the cold water line to the main water line. Then run one line for hot water and another for cold water, running across the beams and downwards towards the washing machine valve that will be installed.
If you’re using copper pipes, use bell hangers with clips to hold them in place; if you use PEX piping, secure them with clamps.
Step 4: Install the Washing Machine Valve
If you’re using copper pipes, cut the end of the pipes, then clean the exterior and interior with a cleaning brush. Apply flux, then solder the fittings onto the ends of the pipes.
Be careful not to use too much solder, as it can damage the fitting below it. Securely screw the fittings to the wall and apply washers after cooling.
Attach the washing machine valve by screwing it to the pipe fittings. For PEX pipes, attach valve fittings to both ends of the pipes with a crimping tool and securely screw them to the wall before attaching the washing machine valve to these fittings.
Step 5: Attach the Hot Water Line
Cut a tee in the hot water line connected to the water heater, which supplies the entire house. Using the washing machine’s tee as a guide, position it against the section of the pipe and mark both ends with a pencil, indicating where you want to cut.
Clean this section of the pipe with an abrasive, then use either a hacksaw or hose cutter to remove it. Position a pan or bowl underneath the pipe to catch any water that may have remained in it. Apply flux to each end of the cut pipe and any fittings.
Align the tee over these pipes and solder them together; if a tight fit, maneuver it into place to complete assembly.
Step 6: Connect the Washing Machine Hoses to the Valve
Attach the stainless steel braided hoses to the back of the washing machine using an adjustable wrench.
These hoses offer superior durability and longevity compared to rubber ones, as they won’t burst or cause leaks or flooding.
Ensure they are securely fastened, then attach each hose to the washing machine valve.
Step 7: Turn the Water Back On
To get your washing machine up and running, the first step is to open the main water valve connected to your house.
After that, switch on the cold water valve at the washing machine. Then, turn on the hot water valve for the same washing machine.
To finish up, open all of the valves of the washing machine, and it will be operational in no time.
Step 8: Install the Drain Hose
When installing a drain system in your laundry room, there are three types: laundry tub, floor drain, and standpipe. Both wall and floor installation are possible.
The top of the draining element (laundry tub, drain pipe, or standpipe) must be positioned between 39-96 inches from the floor for proper drainage.
In the case of a floor drain, it must be no less than 28 inches from the ground for the siphon break kit to work properly.
To avoid drainage issues, ensure the drain hose is secured yet loose with a beaded tie strap instead of tape, which can restrict the airflow needed for proper drainage.
Additionally, be aware that the drain hose should never extend more than 8 inches into any of the draining elements.
You might be interested in: Stop Sewer Backups in Their Tracks: Understanding Backflow Preventers
Frequently Ask Questions About Plumbing-in a Washing Machine:
What are the potential issues with plumbing in a washing machine?
Potential issues when plumbing in a washing machine include leaking connections, weak spots in the pipework, and incorrect parts being used for installation. It is always important to follow manufacturer instructions and use recommended parts for the best results.
Does the location of the washing machine matter when it comes to installation?
Yes, the location of the washing machine matters since this can impact access to existing pipework and may also change how long it takes to complete the installation, as well as other factors such as noise levels or vibration experienced during operation.
How long does it take to plumb in a washing machine?
The average time for plumbing in a washing machine is around 1.5 hours for existing installations and up to 3 hours for new installations depending on the location of the existing pipework.
Are special hoses needed when plumbing in a washing machine?
Some models of washing machines will require specific hoses depending on their design and connection type. Generally, standard hoses should suffice, but it’s always important to consult manufacturer instructions before ordering parts or beginning installation.
How often should I check my washer/dryer after installation?
After installing your washer/dryer, it is important to check for signs of leaks regularly during initial uses. Periodically afterward, soapy water can be used if necessary, along with visual inspection as an extra precaution when checking for leaks to prevent damage.
Is there anything else I need to consider when plumbing in a washing machine?
It is also important to consider anti-vibration technology, if available, to reduce sound volume coming from your appliance while in operation – these systems are designed specifically for this purpose and come in various forms such as special mats or even spring-loaded feet which can be fitted under the appliance before installation begins.
Can I install my gas dryer?
While most people do not have experience installing gas dryers, it is possible, depending on your level of expertise. If unsure, be sure to contact experts before taking on this project. Complex electrical work may be involved with this type of task due to risks associated with working with natural gas, potentially leading to dangerous situations if mishandled.
How can I connect my hot/cold water pipes to my washing machine?
When connecting hot/cold water pipes for your washing machine, start by turning off the main water supply before connecting one end of each hose securely onto the corresponding hot/cold taps using an adjustable wrench or pliers – once sealed tightly into place, use an additional wrap-around layer of pipe tape or Teflon tape around each connection point followed by securing both hoses onto respective ports on the appliance before testing all lines for leaks once complete!
Bottom Line
Plumbing in a washing machine is a relatively straightforward process that basic plumbing tools can complete in as little as one day.
However, it’s always important to read the manufacturer’s instructions before starting and double-check for leaks or weak spots during installation.
If you have succeeded with plumbing in a washing machine using the eight steps provided or have any additional plumbing tips, please share your experience – your feedback could help others benefit from a hassle-free installation.


