Tiling a kitchen splashback is a rewarding project that significantly improves your kitchen’s visual appeal while offering added protection to walls from spills and splatters.
This guide is designed for DIY enthusiasts and beginners embarking on their first home improvement endeavor.
It provides a comprehensive, step-by-step approach to ensure your kitchen splashback is professional-looking and stylish.
Understanding the Basics of a Kitchen Splashback
Before starting into the tiling process, it’s important to understand what a kitchen splashback is and its purpose.
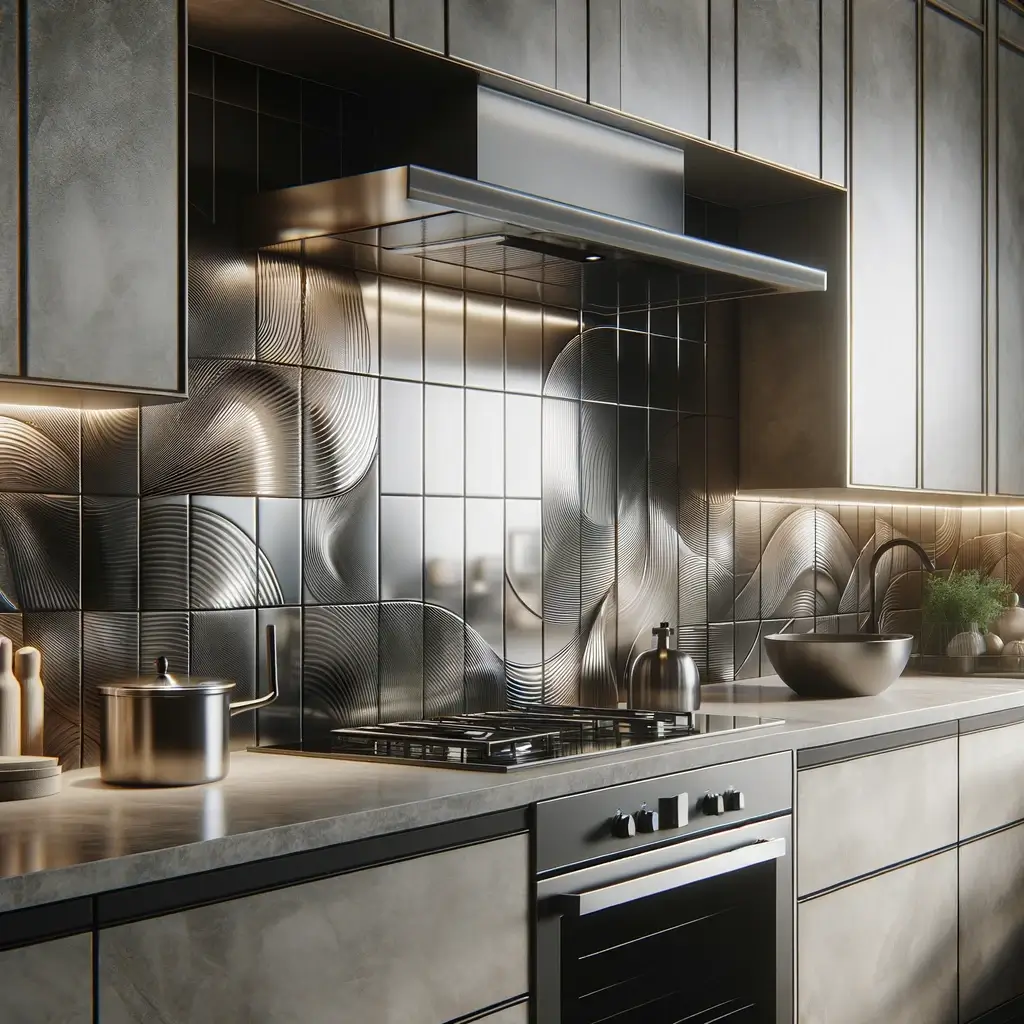
A kitchen splashback is a protective panel installed behind the stove or sink, designed to safeguard the kitchen walls from moisture, heat, and food stains.
Although its primary purpose is functional, it also offers an opportunity to enhance the kitchen’s aesthetic appeal with personal style.
Choosing the Right Tiles
The first step in tiling your kitchen splashback is choosing the right tiles. Many options are available, from ceramic and porcelain to glass and natural stone.
Each material has its unique properties, aesthetics, and price points. Consider factors like durability, ease of cleaning, and how well they complement your kitchen’s decor.
Tools and Materials Needed
Once you’ve selected your tiles, gather the necessary tools and materials. You’ll need:
- Tiles of your choice
- Tile adhesive
- Notched trowel
- Tile spacers
- Grout
- Grout float
- Sponge and bucket
- Tile cutter or tile saw
- Safety gear (gloves, goggles)
Step-by-Step Guide to Tiling a Kitchen Splashback
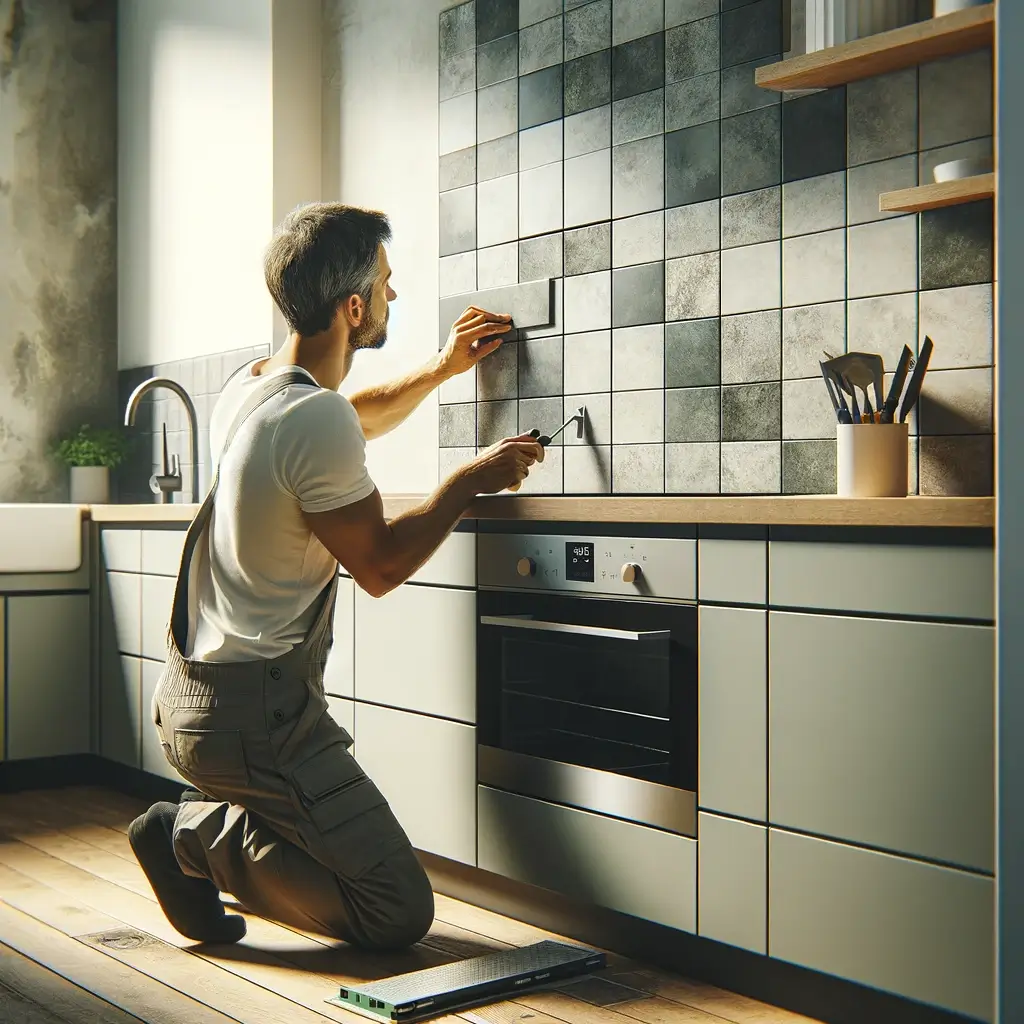
- Surface Preparation: Clean the wall where the splashback will be installed. Ensure it is free from dust, grease, and loose or peeling paint. If tiling over an existing splashback, ensure it is firmly attached and has a smooth surface.
- Layout Planning: Lay the tiles dry, experimenting with various patterns and orientations. This helps visualize the final appearance and identify necessary cuts around corners or electrical outlets.
- Adhesive Application: Mix the tile adhesive as per the manufacturer’s instructions. Apply the adhesive in small sections using a notched trowel, which helps improve adhesion due to the ridges formed by the trowel.
- Tile Setting: Place the tiles onto the adhesive, pressing each firmly with a slight twist for secure adhesion. Use tile spacers to maintain uniform gaps between tiles for grouting. Proceed across the wall, making necessary cuts.
- Tile Cutting: For specific layout needs, measure and mark the tiles for cutting to fit around outlets or at row ends. Cut the tiles using a tile cutter or saw, wearing appropriate safety gear.
- Grouting: Remove the spacers and mix the grout as directed after the adhesive dries (typically 24 hours). Apply the grout using a float at a 45-degree angle to fill the gaps between tiles. Clean excess grout with a damp sponge, rinsing frequently.
- Final Touches: Clean the splashback with a damp sponge to remove residual haze once the grout sets. Consider applying a grout sealer for protection, especially with porous materials like natural stone.
Maintaining Your Splashback
Regular maintenance is essential to keep your new kitchen splashback looking its best. Wipe up spills immediately to prevent stains, and clean the tiles and grout with appropriate cleaners. Avoid abrasive scrubbers, which can scratch the tiles.
FAQs
What is the best type of grout to use for a kitchen splashback?
The best type of grout for a kitchen splashback is a non-sanded grout for narrower grout lines or a sanded grout for wider gaps. Non-sanded grout is smoother and works well for tiles set closely together, which is common in splashbacks. For areas exposed to moisture, consider using a grout with a waterproof or mold-resistant formula to increase durability and hygiene.
How can I ensure my tiled splashback is waterproof?
To waterproof your tiled splashback, properly seal the grout and any gaps, especially around the edges and where the tiles meet countertops or fixtures. Use a high-quality silicone caulk for sealing these areas. Additionally, selecting moisture-resistant grout and applying a grout sealer can enhance waterproofing.
Can I tile a splashback over wallpaper or painted walls?
It’s not recommended to tile over wallpaper as it may not provide a stable, moisture-resistant surface for the tiles to adhere to. Tiling over painted walls is possible, but thoroughly sand and clean the surface to ensure the adhesive can bond properly. In some cases, applying a primer may also be necessary.
How do I maintain and clean my kitchen splashback tiles?
Clean your kitchen splashback regularly with a mild detergent and a soft cloth or sponge to maintain your kitchen splashback. Avoid abrasive cleaners or scrubbers that can damage the tile surface or grout. A mixture of baking soda and water can be effective for tougher stains. Regularly check and repair any damaged grout to prevent moisture penetration.
Are there any eco-friendly tile options for a kitchen splashback?
Yes, kitchen splashbacks have eco-friendly tile options, such as recycled glass tiles, ceramic tiles made from recycled materials, and natural stone. These options reduce environmental impact and offer a range of styles and finishes to suit any kitchen design. When selecting eco-friendly tiles, consider their manufacturing process and the materials’ sustainability.
Conclusion
Tiling a kitchen splashback is a rewarding project that can transform the look of your kitchen. With the right tools, materials, and patience, you can create a beautiful and functional splashback that reflects your style and enhances your kitchen’s overall design. Remember, careful planning and preparation are the keys to a successful project. Take your time, be meticulous, and you’ll be amazed at what you can achieve.


