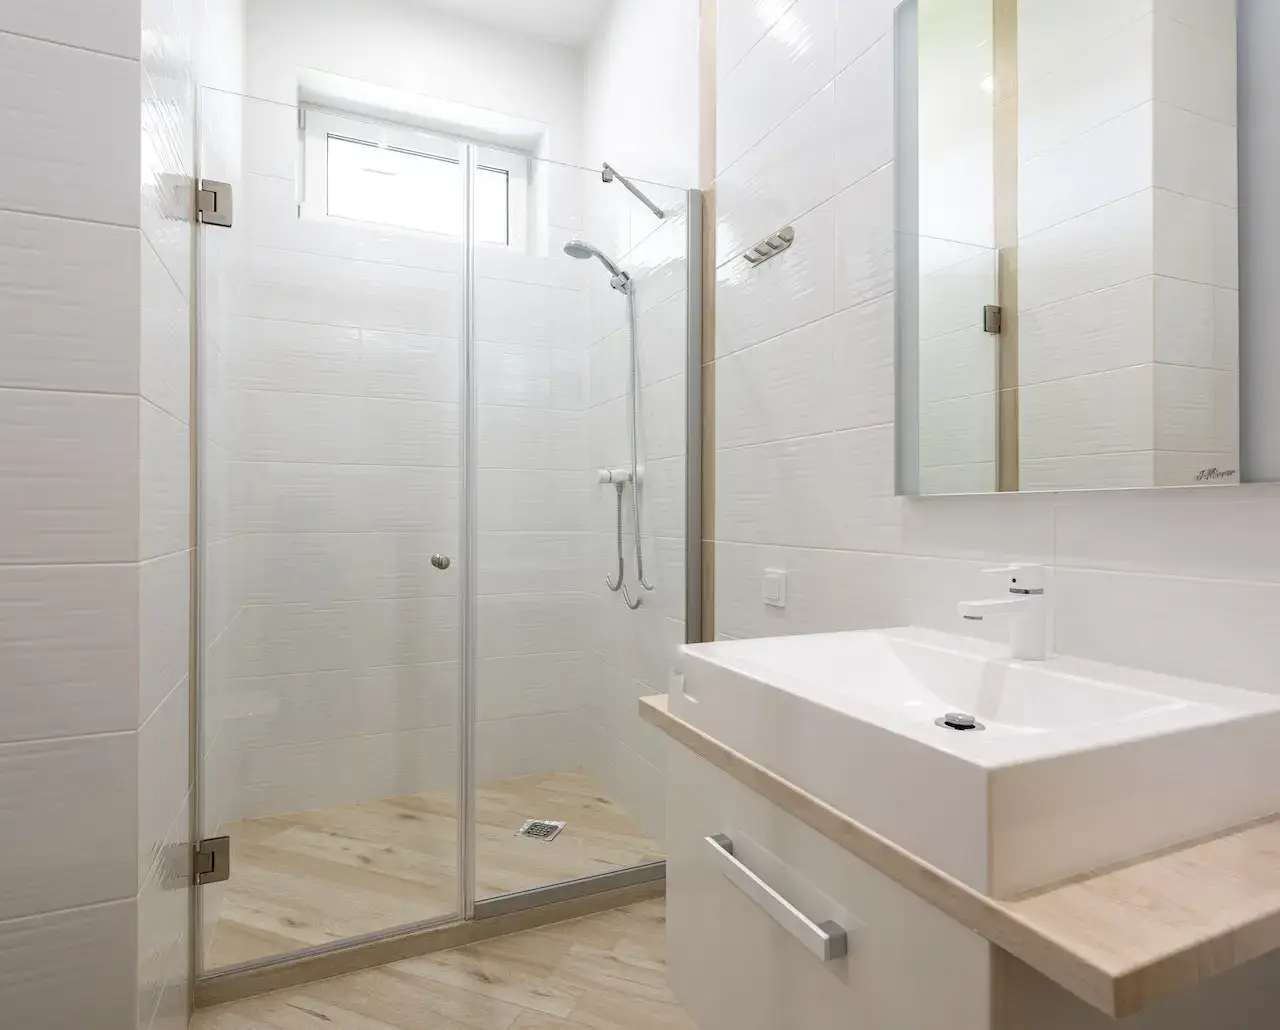
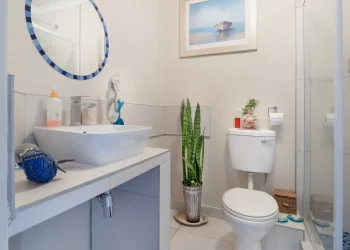
Looking to give your bathroom sink a new lease on life without the hassle of a full renovation? Look no further than Rust-Oleum Tub and Tile Paint. This two-part epoxy product is designed to adhere to ceramic, porcelain, and fiberglass surfaces, providing a durable and long-lasting finish in just a few easy steps.
Let’s get started!
What is Rust-Oleum Tub and Tile Paint?
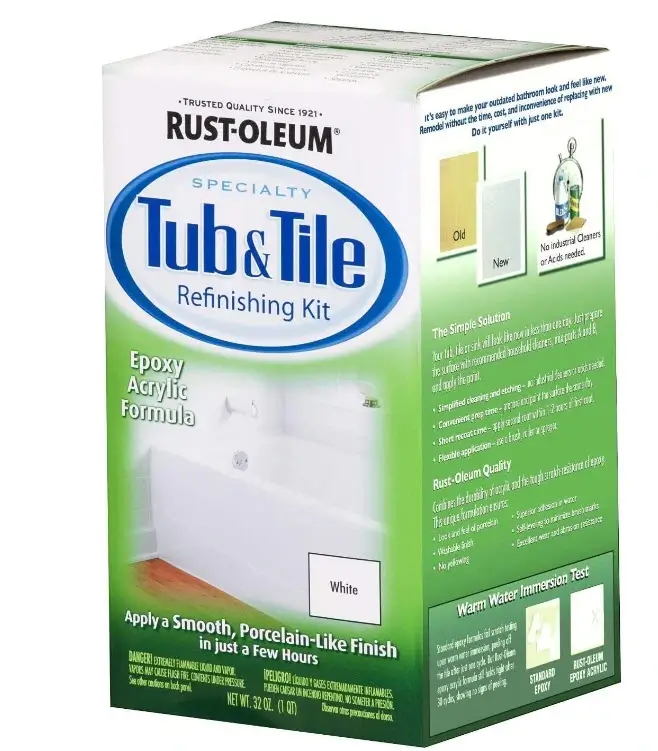
This specially formulated paint is designed for bathroom sinks, tubs, and tiles. Unlike other paints, Rust-Oleum Tub and Tile Paint boast a high-performance coating that provides a glossy, porcelain-like finish.
It can withstand moisture and humidity commonly found in bathrooms. This means you won’t have to worry about chipping or peeling over time.
With Rust-Oleum Tub and Tile Paint, you can easily give your bathroom a fresh new look with minimal effort. Plus, you can add a range of colors to match any decor style.
Note: To ensure you can access the full selection of Rust-Oleum Tub and Tile Paint colors, it’s always best to check with your local store or online retailer.
You might be interested: Real Buyer Reviews of Water Worker Pressure Tank: Should You Invest in One?
Do’s and don’t in Using Rust-Oleum Tub and Tile Paint
Here are some do’s and don’ts to keep in mind when using Rust-Oleum Tub and Tile Paint:
Do:
- Clean the surface thoroughly before painting to ensure proper adhesion.
- Use a high-quality brush or roller for the best results.
- Apply the paint in thin, even coats, allowing each coat to dry completely before applying the next one.
- Follow the manufacturer’s instructions for drying time and recoating.
- Use a fan or open windows to improve ventilation during application.
Don’t:
- Apply the paint if the temperature is below 50°F (10°C) or above 90°F (32°C).
- Rush the drying process using heat lamps or fans, which can cause cracking and peeling.
- Use abrasive cleaners on painted surfaces, as this can damage the finish.
- Allow water to sit on painted surfaces for extended periods, which can cause discoloration or damage to the finish.
- Paint over damaged or chipped surfaces without repairing them first.
Following these guidelines will help ensure that your Rust-Oleum Tub and Tile Paint project turns out beautifully and lasts for years.
Painting Your Bathroom Sink Using Rust-Oleum Tub and Tile Paint Step-By-Step Guide
Step 1: Gather your supplies
Before you begin, ensure you have all the necessary supplies. You’ll need the following:
- Rust-Oleum Tub and Tile Paint
- Protective Gloves
- Safety Googles
- Comet Cleaner
- Caulk/Caulk Gun
- Homax plastic caulk remover
- Abrasive pad
- Can opener
- Stir Stick
- Mild detergent
- Rags
- Lime Away
- Sanding sponge (400 grit)
- Painter’s tape
- Paper
- Angle Paint Brush
- Respirator
- Tack cloth
Step 2: Prepare the surface
To ensure a smooth and long-lasting finish, it’s important to properly prepare the surface of your sink. Begin by removing the faucet and drain for easier access.
Then, clean the sink’s surface with comet cleaner and a scrub brush, paying special attention to any tough stains or buildup.
Next, use a Homax plastic caulk remover to remove any caulk between the sink and the counter. You may need a razor blade scraper to help loosen the caulk.
Once the caulk is removed, use an abrasive pad and Lime Away to scrub the entire surface of the sink. Let it stand for five minutes, then rinse thoroughly with water and dry completely.
Using a sanding sponge (400 grit), rough up the sink’s surface, then rinse it thoroughly to remove dust. Use a tack cloth to pick up any stray dust particles, then use painter’s tape and paper to mask off any areas you don’t want to be painted.
Step 3: Apply the paint
Now it’s time for the fun part. Proper ventilation is key when using Rust-Oleum Tub and Tile Paint, so open any doors or windows and use floor fans to circulate the air. Wear a respirator to protect yourself from the fumes.
Choose your color and open Part A (Activator) and Part B (Base) of the Rust-Oleum Tub and Tile Paint. Stir each component separately, then mix them thoroughly. Once the two parts are mixed, you’ll have six hours to complete your project.
Using a small synthetic brush (1.5 inches), apply the paint to the sink in long, even strokes, starting in one corner and working your way around. You may notice small bubbles forming as you paint, but these will disappear as the paint dries.
Allow the first coat to dry for at least one hour before applying a second coat. After the final coat, let the sink dry for an hour before removing the painter’s tape.
Step 4: Let it cure
Before using your newly painted sink, it’s important to let it cure fully. Wait at least three days before exposing it to water to ensure the paint has had enough time to set.
Once the sink is cured, go around and re-caulk any areas that need it using a white caulk. When it’s time to clean your sink, use mild soap and water, and avoid any abrasive products.
You might be interested: How To Hang Drywall Like a Pro
Frequently Ask Questions About Rust-Oleum Tub and Tile Paint:
What can I use Rust-Oleum Tub and Tile Paint on?
Rust-Oleum Tub and Tile Paint is specially made on various surfaces, including ceramic tile, porcelain, fiberglass, acrylic, cast iron, and steel.
How long does it take for Rust-Oleum Tub and Tile Paint to dry?
The drying time for Rust-Oleum Tub and Tile Paint may vary based on humidity and temperature. Typically, it takes around three days for the paint to fully cure.
Can I use harsh cleaners on surfaces painted with Rust-Oleum Tub and Tile Paint?
Using abrasive cleaners on painted surfaces is not recommended as it may damage the finish. Instead, mild or non-abrasive cleaners should be used.
Do I need a primer before using Rust-Oleum Tub and Tile Paint?
No, You don’t need a separate primer when using Rust-Oleum Tub and Tile Paint. This paint has excellent adhesion properties, allowing it to bond directly to the painted surface without needing a primer.
Can I paint over old caulk with Rust-Oleum Tub and Tile Paint?
Removing old caulking before applying the paint is best to ensure proper adhesion. Use a plastic caulk remover or a razor blade to remove any existing caulking carefully.
Can I use Rust-Oleum Tub and Tile Paint in areas that get wet?
Yes, That’s one of its specialties. It’s designed for high-moisture environments like bathrooms and kitchens.
How long will my newly painted surface last with Rust-Oleum Tub and Tile Paint?
When applied correctly, Rust-Oleum Tub and Tile Paint can last several years before needing another application.
Can I use Rust-Oleum Tub and Tile Paint on my bathtub or shower stall?
Absolutely! Aside from painting your bathroom sink, you can use this product on your bathtub or shower stall. Carefully follow the manufacturer’s instructions for the best results.
Conclusion
Transforming your bathroom sink look has never been easier with Rust-Oleum Tub and Tile Paint. Following a few straightforward steps, you can achieve a fresh new appearance without undergoing major renovations. Start your no-demo renovation today!


